Getting started
Setting up a new organization: bringing in the data you already have, and getting your team and your customers into the product.
Last updated
Your first-run checklist
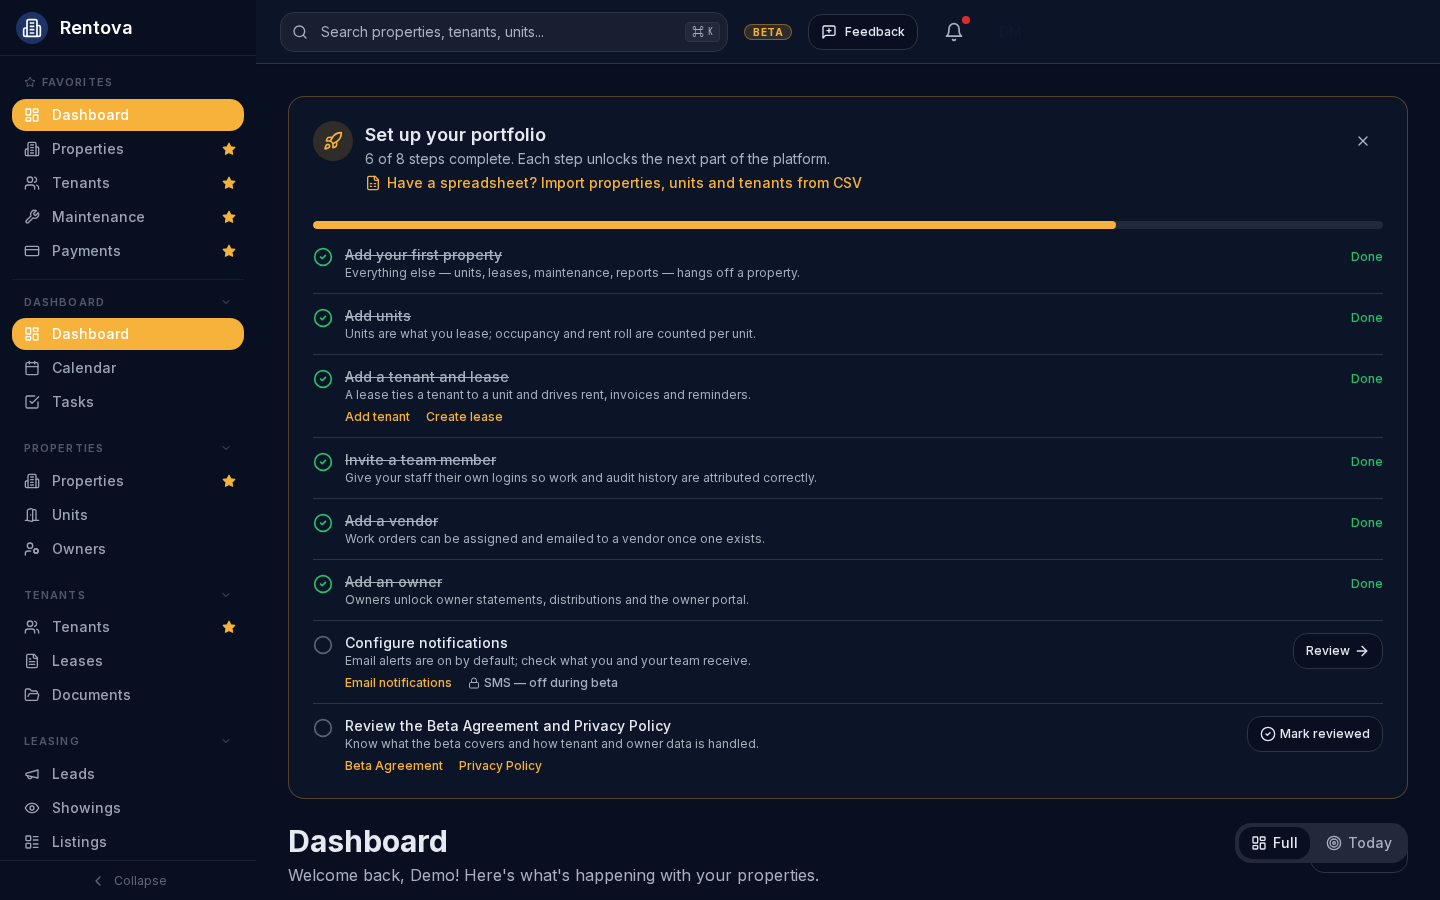
A new organization's dashboard shows a setup checklist with eight steps, in the order most teams tackle them: add your first property, add units, add a tenant and lease, invite a team member, add a vendor, add an owner, configure notifications, and review the Beta Agreement and Privacy Policy. Each step is marked done automatically as you complete the underlying action — there is nothing separate to check off.
Import your existing data
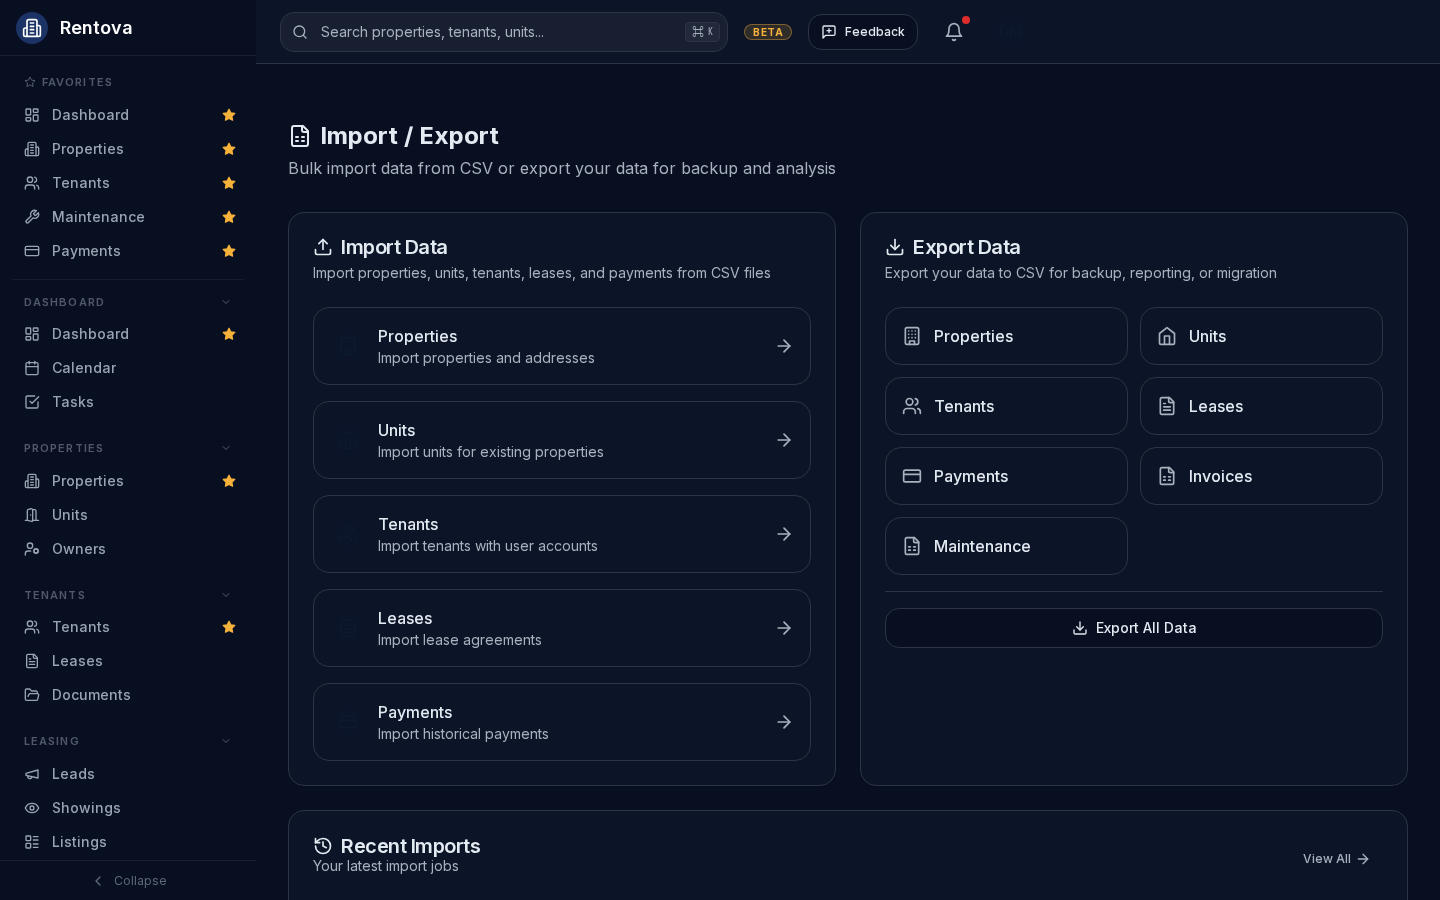
If you're moving from a spreadsheet, the importer (Settings → Import/Export) brings in properties, units, tenants, leases and payments from CSV files.
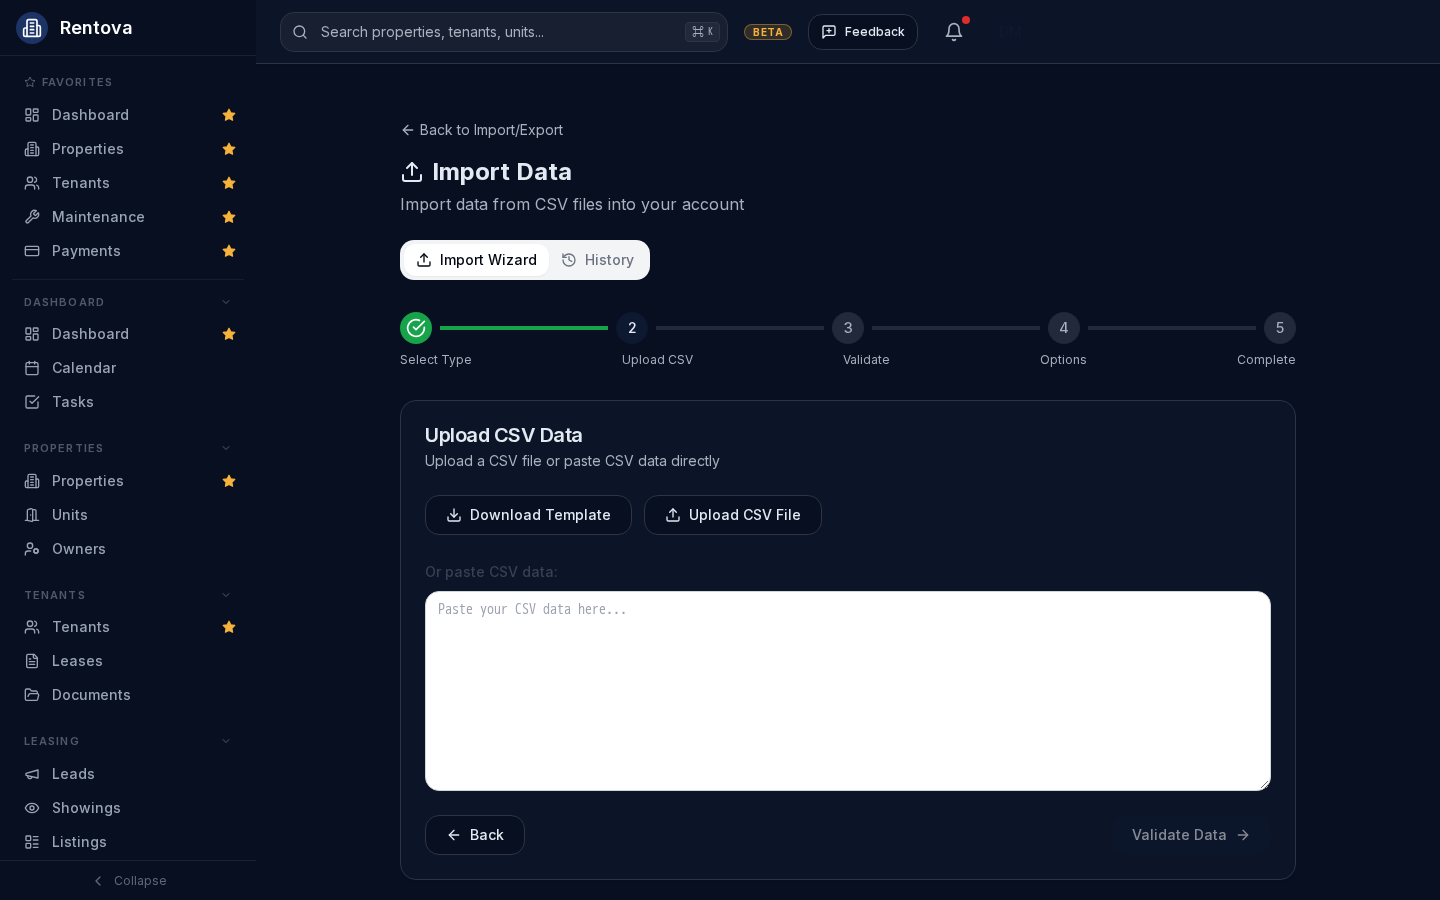
Each import walks through the same five steps:
- Select type — pick which kind of record you're importing.
- Upload CSV — download a template first if you're not sure of the column layout, then upload your file (or paste CSV text directly).
- Validate — see how many rows are valid and which ones have errors, with the specific row and field for each problem, before anything is saved.
- Options — choose whether to skip duplicates, update existing records, or run a dry run first to preview the outcome without changing anything.
- Complete — a summary of what was created, updated and skipped.
Only an Administrator can import data.
Invite your team
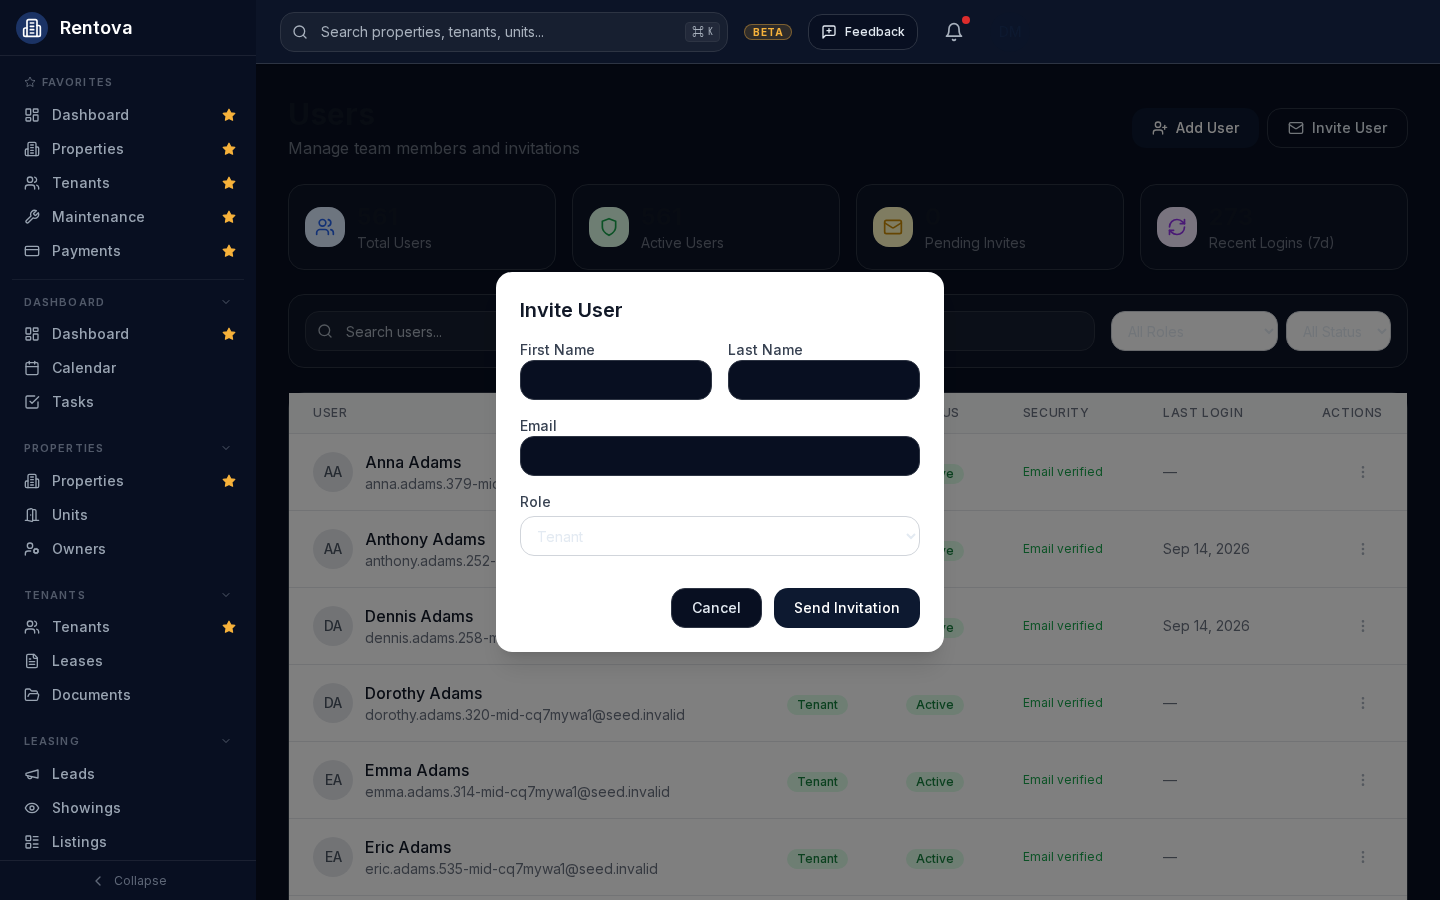
From Settings → Users, Invite User sends an email invitation for any staff role — Administrator, Property Manager, Assistant Manager, Maintenance or Accountant. The person you invite clicks the link in their email and chooses their own password; nobody types a password on their behalf.
Invite tenants
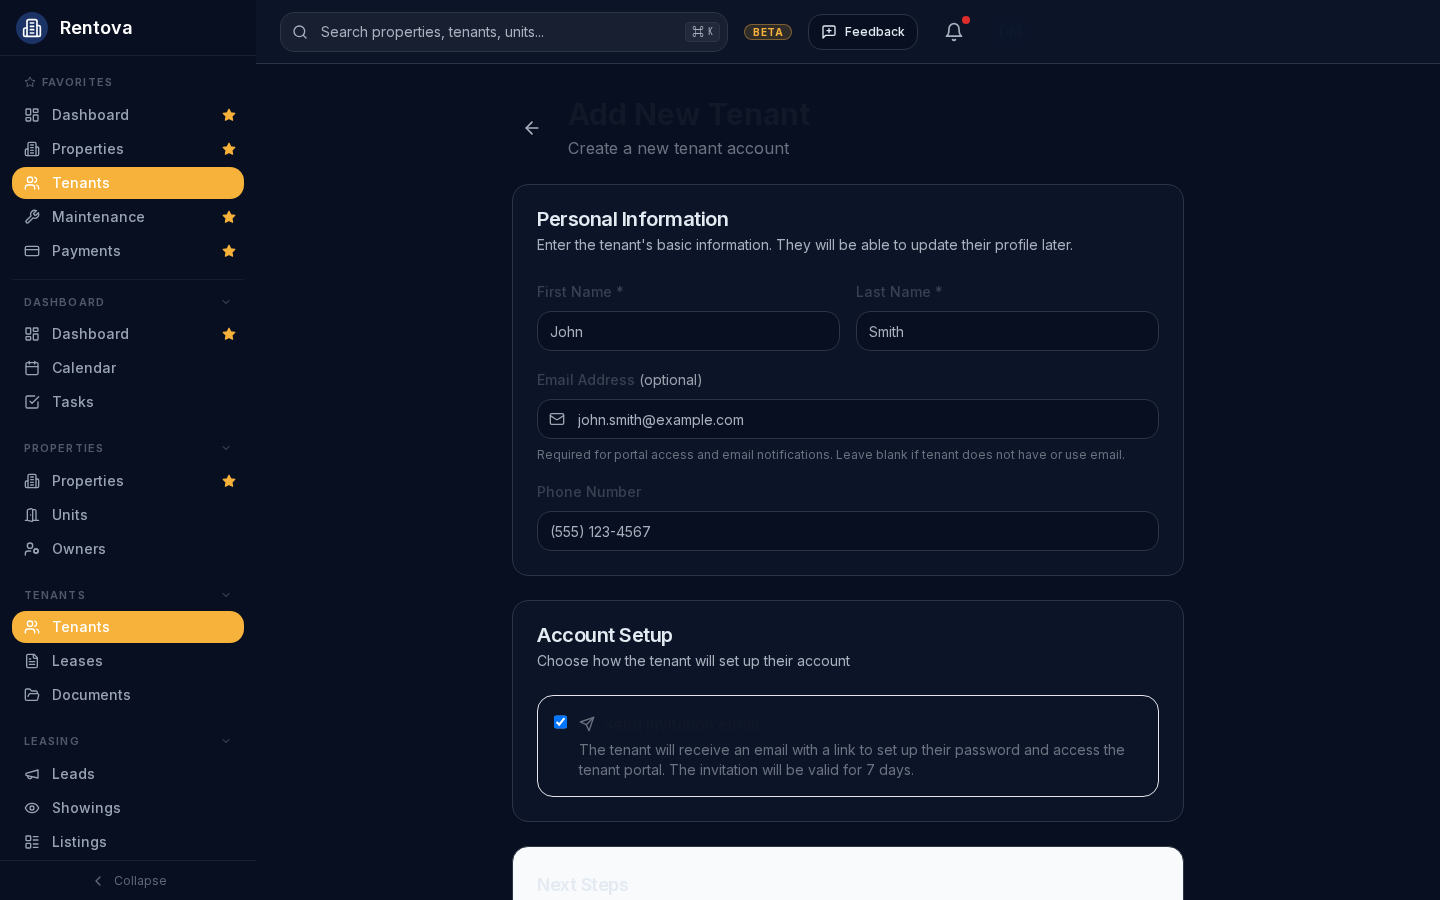
When you add a tenant, leave “Send invitation email” checked and they'll receive a link to set up their own password and access the tenant portal. You can resend or revoke an invitation from the tenant's profile at any time.
Invite owners
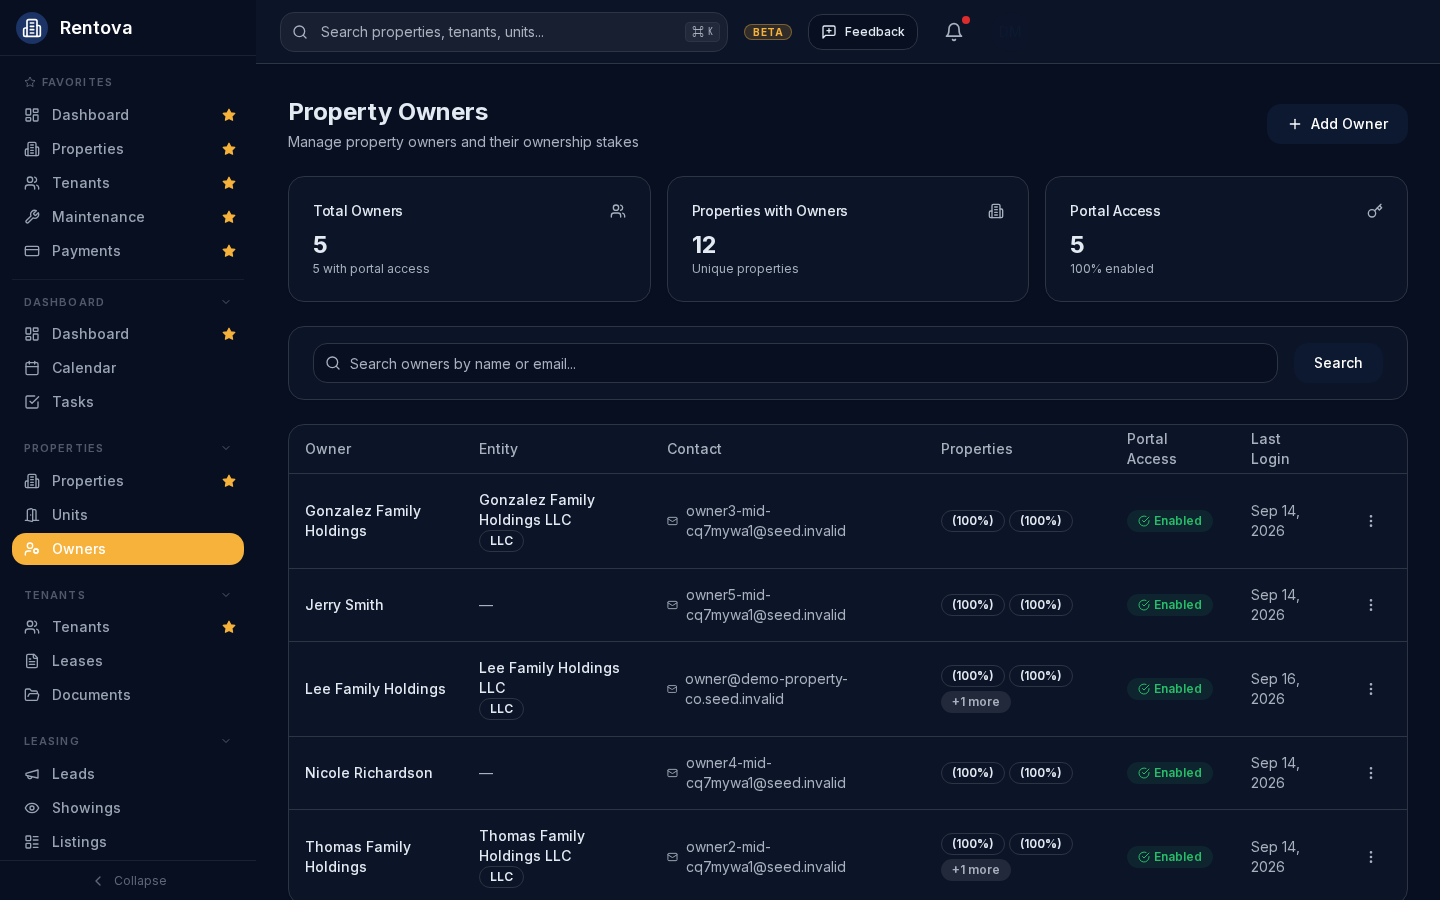
From the Owners list, send a portal invitation to any owner; the list shows whether portal access is enabled for each one, and how recently they've logged in.
Invite vendors
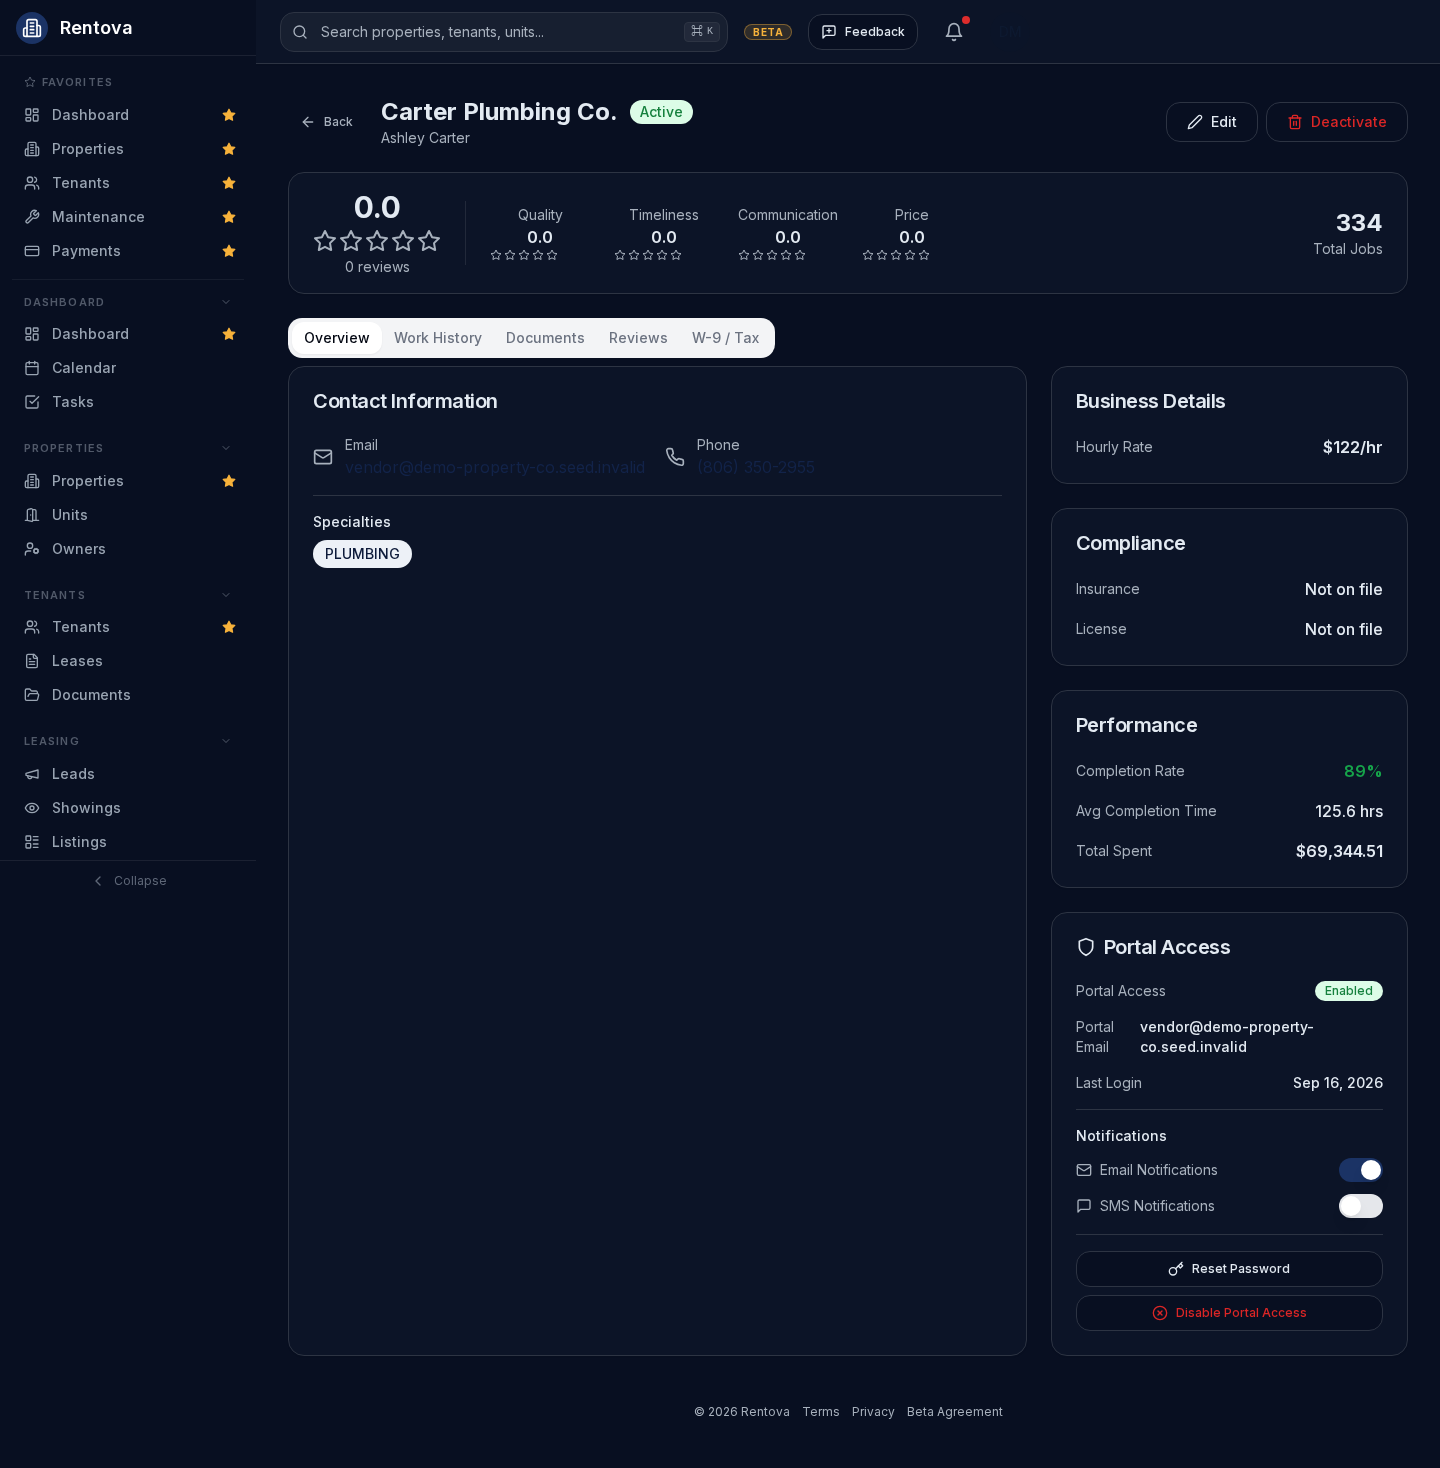
A vendor's own profile has a Portal Access card for sending, resending or revoking their invitation, resetting their password, and turning their email and SMS notifications on or off.
Invitation links expire after 7 days